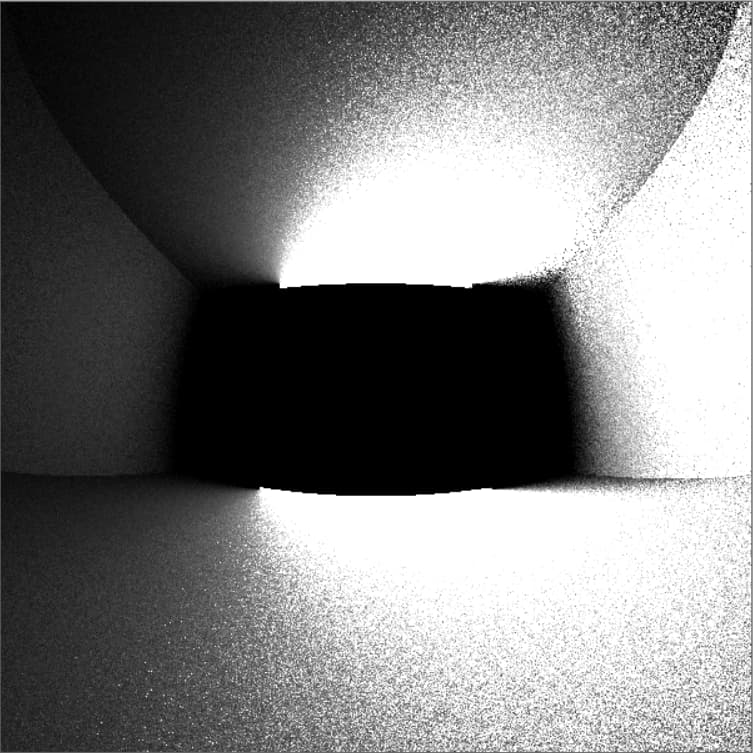
I used rpict to render a daylight illuminance image of an dayligt lit room and beacuse I wanted to computer the direct light only, a very low abounce (-ab 1) was used. However, the rendering picture is very patchy as shown below:
Rcontrib uses pure Monte Carlo sampling, which takes longer but produces more noise for the same number of samples as the “ambient cache” used in rpict, which is the source of the artifacts in your first image.
The trouble is that you are using the “indirect” calculation to compute your “direct” component inside the room from daylight. You can reduce, but not eliminate, the artifacts by two well-known methods:
(1) perform a low-resolution overture rpict run and discard the resulting picture to populate the ambient cache (-af option) before the final high-resolution pass, and
(2) decrease the -aa setting to space the indirect calculations more closely together.
I recommend using both in combination, running the following commands:
Alternatively, you can use rtpict with the -n option for multi-processing (assuming you are on a Unix box) with the same options as the second operation, as it randomizes ray samples to avoid these artifacts.
Hi,Greg,
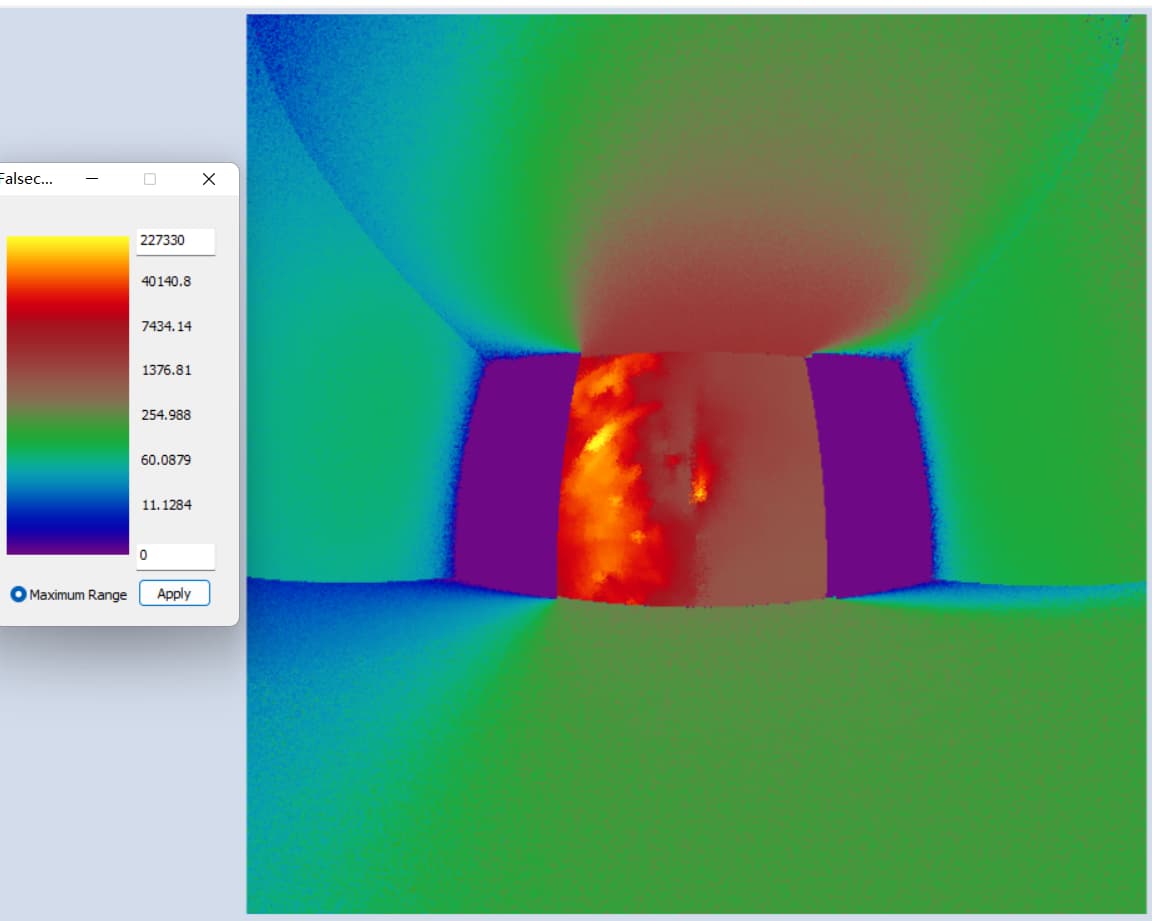
I used mkillum with -ab of 0 to generate a secondary lighting source and rpict with -ab of 1 to obtain the HDR image. The resulting image is shown as below:
It seems that the quality was very good, and no artifacts. I also compared luminance in this picture with those in the image generated by rcontrib, and the result is similar.
Excellent – I’m glad you figured this out. I was thinking to suggest mkillum, which was designed to solve this very problem, but it was rather a lot to explain.
Like most things in Radiance, the best way to gain confidence in the different methods is to experiment with them until your results converge.